Monday, September 19, 2011
Thursday, June 11, 2009
Third Thursday: May 2009
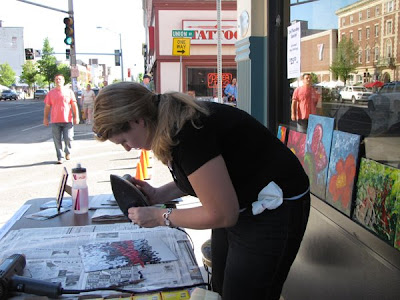
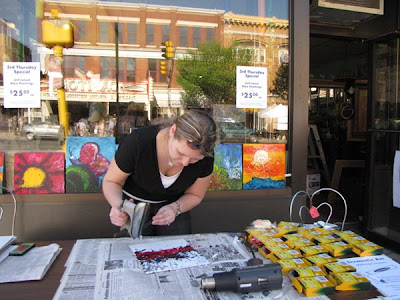
This is me, demonstrating my technique outside Wild Sage on North Street, Pittsfield, MA on the city's Third Thursday's event. I try to be there every Third Thursday from May to October.
These photos show how I start out by holding the crayon(s) against the medium-hot iron and let the colors drip where I want them.
Friday, June 5, 2009
Prepping
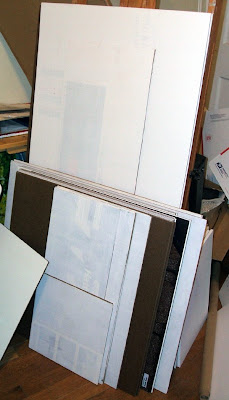
1. Surface Preparation
If you are going to use masonite, it usually comes with a bit of a sheen. Make sure you sand it and rough it up pretty good, wipe off the dust with a damp cloth, and then put down a coat or two of primer. Whatever it is that you use as a surface should be primed. I have never used artist's gesso, I always just buy a quart of latex house primer (like Kilz Latex). Maybe I should use gesso, but the house primer is just so much cheaper. It's really up to you. I haven't had any problems with it yet - not that I'm aware of anyway.
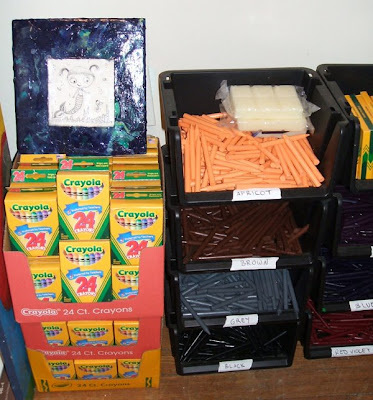
2. Crayon Preparation
If you're at all like me and like to do monotonous, brainless, mind numbing tasks every once in a while, then you'll love getting the crayons ready! Now, for the reason I like the 24 ct. boxes... I buy the 24 ct. boxes by the case and there are 48 boxes in a case. That will give me 2 boxes full of each color crayon. So first you'll want to empty out the boxes and separate the crayons into piles of the same color. Then, using an X-acto knive, carefully make a slice down the paper of each crayon and remove the paper. This part takes FOREVER, so you might want to pop in a really long-running tv show on DVD or something.
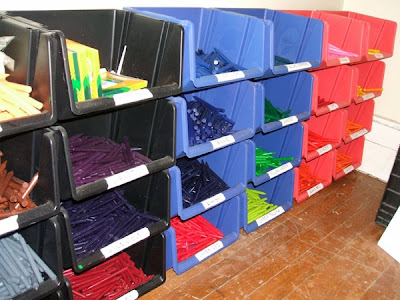
Now, you can either put your crayons back in the boxes and label them so they stay clean and organized, or you can get these bins at the dollar store like I did where they will collect dust and cat hair, and the blues and purples will get mixed up. I just like that they're conveniently out in the open so I can grab bunches of them while I'm holding the hot heat gun and not looking. But that's just me. I do like to keep a full box of each color to take to Third Thursday or anywhere else I might be working outside the studio.
Tuesday, June 2, 2009
Tools to Get Started

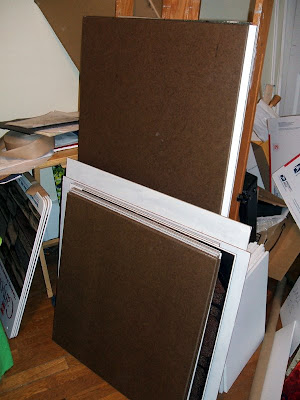
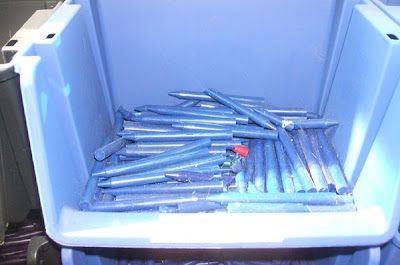
The most important tools to get started in making melted crayon paintings:
1. An iron with no holes on the bottom:
I started out using a regular one with steam holes, but it was really messy. The melted crayon gets stuck in the holes, mixes with all the colors to form an ugly brownish grey and then comes dripping out to ruin your painting at the worst possible moment. The ones without holes are kind of hard to find. I put an "Items Wanted" ad in the local shopper and someone happened to find one at a tag sale and gave it to me. So these are basically free or really cheap.
2. A heat gun, typically used for paint stripping:
Try to find one with more than one setting. I have used three so far. The first one was really old and weak, and perfect! Then I got a new one that was too strong so it blew the crayon around too much. The last one, my husband bought me for Christmas. It's a Craftsman Industrial heavy-duty heat gun with variable temperature control, hi & low air flow settings and a temperature indicator - it's more than perfect! It even has different nozzle attachments (which I haven't tried yet). This one was $100.
3. Boards - wood, masonite, anything rigid:
I use masonite - because I have a lot of it and it's not too heavy, but not too flimsy. I used to buy it in 24" x 48" sheets at Home Depot for around $3, but then I got a job at a print shop that used TONS of masonite and throws much of it away. I have enough to last me at least a few years. If you go to Sampco in Pittsfield, MA and ask them for scraps, I'm sure they would be happy to get rid of them. I have tried canvas, but the wax cracked. Then the canvas fell behind a heater and the whole thing dripped all over the place. It actually looked better after that.
4. Crayons!
I only use Crayola. I've tried lots of others - they're just not as good. The Crayolas have more pigment in them, and they melt better and make nicer pictures. I bet most kids will tell you the same thing. The trick is, you have to go to Wal-Mart, or a place like that with back-to-school specials, some time around August. I've been buying them by the caseload for the past few years. 20-23 cents per box of 24. I'll tell you why the 24 ct. boxes are the best later.
5. Other tools:
I just use some old pottery tools that had been lying around my studio forever. They're my favorite. Palette knives work pretty well too. I guess it depends on what you want to do with them. Sometimes you just want to blend colors together or move colors around before they dry. Or carve your initials in when you're done.
Oh, and don't forget the other basics: a power strip to plug everything into, a flat LEVEL surface to work on, some newspapers and/or wax paper to put under your work, good lighting, a well-ventilated area, music, tv, onlookers...
So that's all you really need to get started. Next, the preparations...
Subscribe to:
Comments (Atom)


